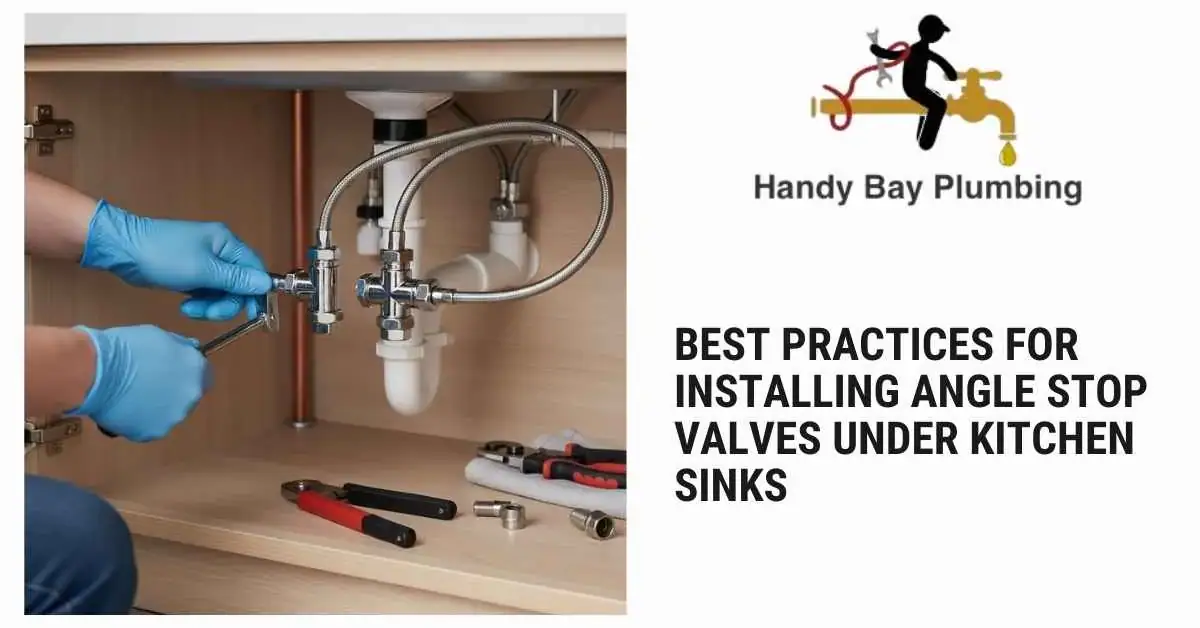
Angle stop valves might not be flashy, but they’re an essential part of any kitchen plumbing system. Positioned where the water lines meet your faucet supply hoses, these small valves allow you to quickly shut off water to the sink for repairs, maintenance, or emergencies, without turning off water to the whole house. Installing them properly is key to preventing leaks, avoiding water damage, and ensuring years of worry-free use. Here’s a detailed guide covering the best practices every homeowner or plumber should follow when installing angle stop valves under kitchen sinks.
What Are Angle Stop Valves?
Angle stop valves, sometimes called angle valves or shut-off valves, connect the main water line coming from the wall or floor to the faucet supply lines.
They allow localized water control, making it simple to:
- Replace faucets
- Fix leaks
- Upgrade fixtures
Without disrupting water flow to the rest of the house.
1. Choose the Right Type of Angle Stop Valve
There are a few common types:
- Compression-fit valves: Fit over copper or PEX pipes using a compression nut and ferrule.
- Sweat (soldered) valves: Require soldering directly to copper pipe.
- Push-to-connect (push-fit) valves: Use an internal o-ring to seal against the pipe.
For most DIY projects and quick replacements, compression or push-fit valves are recommended; they’re easier, safer, and don’t require soldering.
2. Turn Off the Main Water Supply First
Before starting any plumbing work:
- Locate your home’s main water shut-off valve.
- Turn it fully clockwise to close.
- Open the kitchen faucet to release pressure and drain residual water.
This step keeps water from spilling while you work.
3. Remove the Old Valve Carefully
If you’re replacing an existing valve:
- Use two wrenches: one to hold the pipe steady and one to loosen the valve.
- Turn slowly to avoid twisting or damaging the supply pipe.
- Remove any old compression rings (ferrules) and clean the pipe end thoroughly.
Pro tip: If the ferrule is stuck, use a ferrule puller rather than forcing it off with pliers.
4. Prep the Pipe End
For a new valve or pipe:
- Ensure the pipe end is clean, smooth, and free of burrs.
- Wipe with a cloth to remove dirt and moisture.
- Measure carefully to make sure the valve sits flush against the wall.
A clean, smooth pipe end helps the new valve seal properly and prevents leaks.
5. Installing Compression Angle Stop Valves
Step-by-step:
- Slide the compression nut onto the pipe.
- Place the brass ferrule (compression ring) behind the nut.
- Push the angle stop valve onto the pipe until it stops.
- Slide the nut and ferrule forward to meet the valve.
- Tighten the nut with a wrench until snug, then give an additional ¼ to ½ turn.
Don’t over-tighten: compression fittings seal by pressure, and excessive force can crack the ferrule or deform the pipe.

6. Installing Push-to-Connect Valves
These are popular for quick installations:
- Cut the pipe squarely and clean it thoroughly.
- Mark the pipe to the correct insertion depth.
- Push the valve firmly until it meets the mark.
Ensure it clicks into place. Push-fit valves can usually be rotated but shouldn’t slide back out.
7. Check Alignment
Position the outlet of the angle stop so it points straight toward the faucet’s flexible supply hose.
This reduces stress on the connection, prevents kinks, and makes future replacements easier.
8. Connect Faucet Supply Lines
Use flexible braided stainless-steel hoses for durability and easier alignment:
- Hand-tighten the connection first.
- Finish with a wrench, just until snug.
Avoid over-tightening, which can crush washers and cause leaks.
9. Turn Water Back On and Test
- Slowly reopen the main water valve.
- Open the faucet and watch for leaks around the angle stop.
- Check all connections, including under full pressure.
If you notice small drips:
- Tighten compression nuts slightly (⅛ turn at a time).
- Avoid over-tightening.
10. Best Practices for Longevity and Safety
Use quality parts: Cheap valves or hoses often fail prematurely.
Keep valves accessible: Avoid boxing them in behind cabinetry or drywall.
Exercise valves annually: Open and close them to prevent them from sticking.
Replace corroded valves promptly: Leaks can worsen over time and damage cabinetry.
Label hot vs. cold valves: Makes future repairs or replacements easier.
Common Mistakes to Avoid
- Reusing old compression rings (ferrules) can cause leaks.
- Cutting pipes unevenly leads to poor sealing.
- Over-tightening connections: damages threads or deforms pipes.
- Using plumber’s tape on compression threads: it’s not needed and can cause improper sealing.
Conclusion: Small Part, Big Protection
Installing angle stop valves properly under your kitchen sink isn’t complicated, but doing it right protects your home from leaks, makes future repairs easier, and gives you peace of mind. By following these best practices, choosing the right type, preparing the pipe, tightening carefully, and testing thoroughly, you’ll have a reliable, leak-free shutoff system that lasts for years.
Call to Action
A small effort now can save hundreds (or thousands) in future water damage repairs. Contact us today!


