As temperatures begin to drop, many homeowners overlook a critical task: winterizing outdoor faucets. Neglecting this simple but essential job can lead to frozen pipes, burst plumbing, and costly water damage. Preparing your hose bibs and exterior spigots for winter is an easy, cost-effective way to avoid plumbing disasters and protect your home during freezing conditions.
In this post, we’ll guide you step-by-step through how to winterize outdoor faucets properly and highlight the tools, techniques, and timing needed to do it right.
Why Winterizing Outdoor Faucets Matters
When water remains trapped inside exterior faucets and the connecting pipes during freezing temperatures, it expands as it turns to ice. This creates intense pressure inside the pipes, often resulting in cracks, leaks, or full-blown bursts, especially in uninsulated walls or crawlspaces.
The cost of repairing burst pipes can range from a few hundred to several thousand dollars, depending on how far the damage spreads.
When Should You Winterize Outdoor Faucets?
You should winterize all outdoor faucets before the first hard freeze, which typically happens between late October and early December, depending on your location. A “hard freeze” is when the temperature dips below 28°F (-2°C) for several hours.
The earlier you prepare, the better protected your plumbing will be when winter hits.
Step-by-Step Guide to Winterizing Outdoor Faucets
1. Disconnect and Drain Hoses
- Unhook all garden hoses, splitters, and attachments from outdoor faucets.
- Drain them completely and store them indoors to prevent cracking or deterioration.
- Leaving hoses attached traps water in the line and increases the risk of freezing.
2. Shut Off the Interior Valve (If Available)
- Locate the indoor shut-off valve that controls water to the outdoor faucet.
- Turn it off and open the outdoor faucet to drain any remaining water.
- Keep the faucet open throughout winter to prevent pressure buildup.
If your home doesn’t have an interior shut-off valve, consider installing one to simplify future winterizing.
3. Drain Excess Water
After turning off the interior valve:
- Open the exterior faucet fully.
- Allow all water to drain out.
- If there’s a small bleeder cap inside near the shut-off valve, open that to release trapped water.
This step ensures no water is left behind to freeze in the pipe.
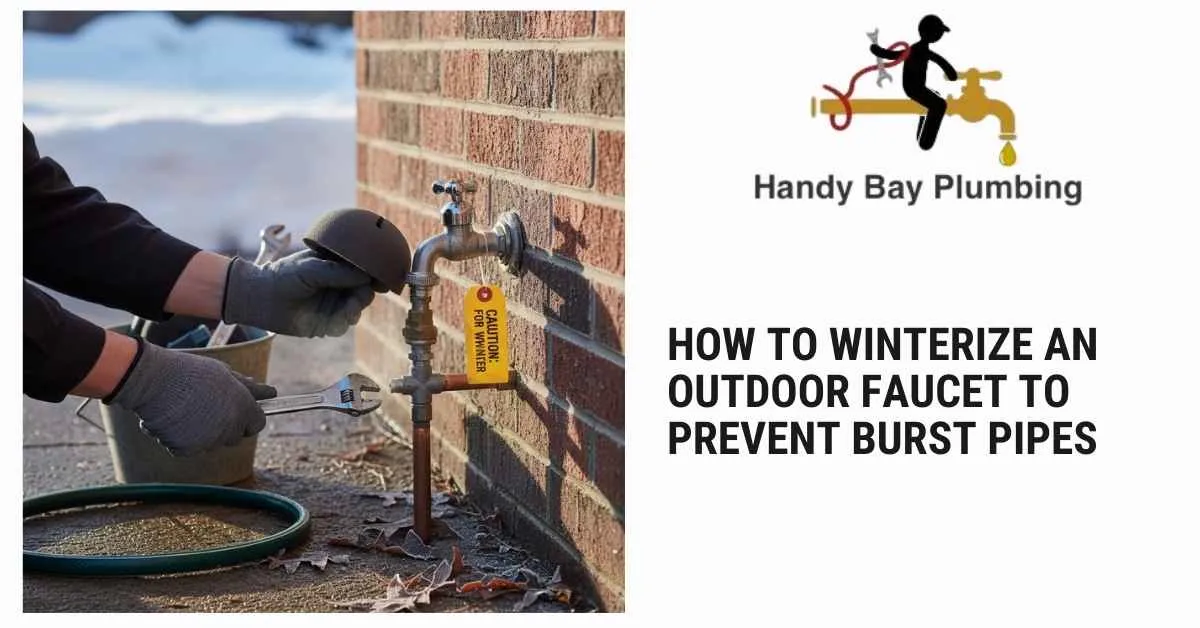
4. Install Outdoor Faucet Covers
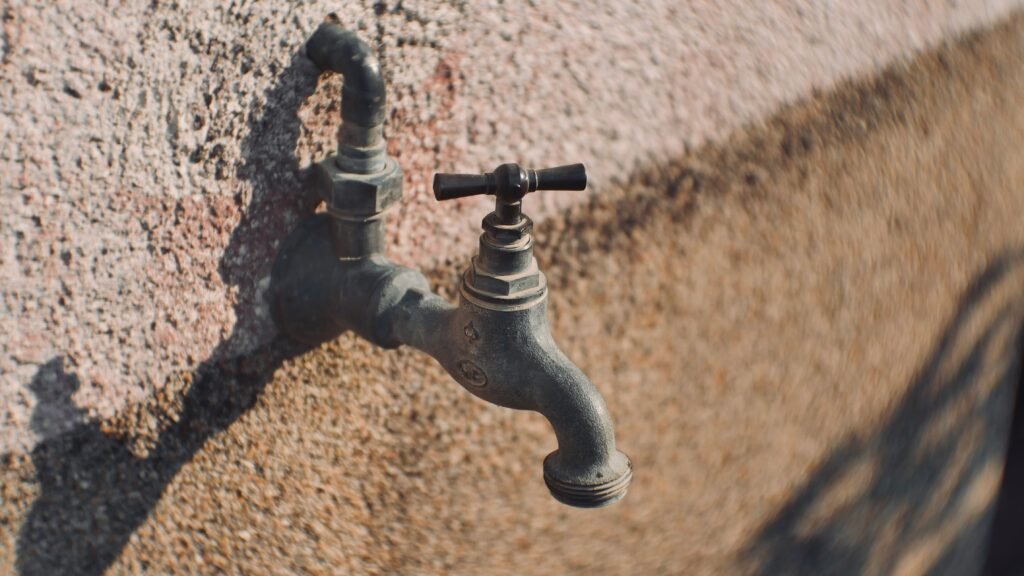
- Use insulated faucet covers (also called hose bib covers) that slip over the spigot.
- These covers are affordable and widely available at hardware stores.
- They protect the faucet from direct exposure to wind and freezing air.
This extra layer of insulation significantly reduces the chance of freezing, especially during sudden cold snaps.
5. Consider Frost-Free Hose Bibs
If you live in an area with long, cold winters:
- Upgrade to frost-free hose bibs designed to shut off water deeper inside the wall.
- They are self-draining and reduce the risk of pipe bursts.
- Have them installed by a licensed plumber for best results.
Common Mistakes to Avoid
- Forgetting to detach hoses: Leaving them on is the number one cause of outdoor pipe bursts.
- Not opening the faucet after shut-off: This traps pressure inside, leading to cracks.
- Skipping the cover: Even if drained, wind chill can affect exposed faucets.
- Waiting too late: Once temperatures dip below freezing, damage may already be done.
Bonus Tips for Extreme Cold
- Wrap pipes or hose bibs with foam insulation tape for added protection.
- Check outdoor faucets mid-winter to ensure no ice is forming around the spigot.
- If your faucet is leaking or dripping, fix it before winter, as leaks speed up freezing.
Benefits of Winterizing Faucets
- Avoid expensive burst pipe repairs
- Prevent mold, rot, and drywall damage
- Save money on emergency plumbing visits
- Extend the life of your plumbing fixtures
- Gain peace of mind during winter storms and freezes
Final Thoughts
Winterizing your outdoor faucet is a quick, easy, and highly effective way to protect your home from major cold-weather plumbing disasters. Whether you’re a seasoned homeowner or a first-time buyer, adding this task to your fall checklist can save you thousands in repairs and plenty of headaches down the line.
Call to Action
With just a few supplies and 30 minutes of prep time, you can ensure your pipes stay safe and dry all winter long. Contact us today!
